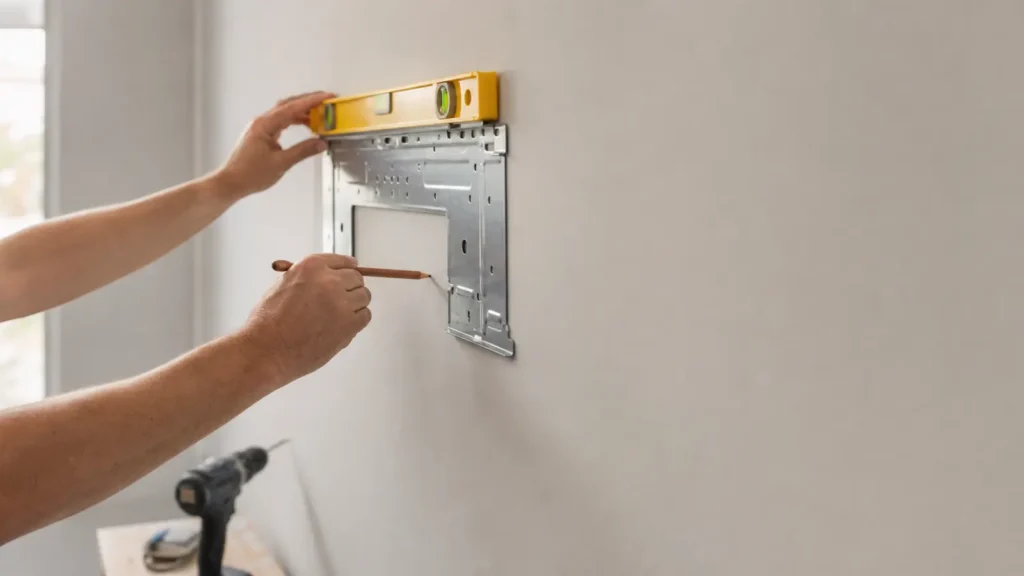
Plan the route, the circuit and the refrigerant connections before you buy.
- Can You Install a Mini-Split Yourself? EPA Section 608
- Mini-Split Line Set Length
- Mini-Split Electrical Requirements
The three parts of an installation
- Refrigerant. EPA says adding or removing refrigerant and connecting or disconnecting hoses or pre-charged lines on a mini-split requires Section 608 technician certification, even with DIY kits. See can you install a mini-split yourself for what that means and your options.
- Line set and drain. The line set length and diameters must match the unit and stay within the maker’s limits, and the condensate drain must slope down or use a pump. See line set length.
- Electrical. The nameplate’s minimum circuit ampacity (MCA) sizes the wire, the maximum fuse/breaker caps the breaker, and codes generally require a disconnect within sight of the outdoor unit. See electrical requirements.
Planning checklist
- ACCA Manual J load calculation done and unit chosen (sizing).
- Indoor head location: high on a wall with a clear throw across the room.
- Outdoor location: manual clearances, above snow, on a stable pad or bracket.
- Route measured end to end, including vertical rise.
- Panel space and circuit confirmed; electrician booked if needed.
- Certified technician booked for the refrigerant connections.
- Permit applied for where required.
- New units use A2L refrigerants (R-454B or R-32); follow the manual’s room-size and handling rules. See R-410A vs R-454B and R-32.
What this section isn’t
These guides help you read the manual and plan. They don’t replace your unit’s installation manual, the NEC as adopted locally, EPA rules or a licensed professional.
A2L refrigerants and the manual
R-454B and R-32 are classed A2L, meaning lower toxicity and mildly flammable. Equipment using them is listed under UL 60335-2-40, which sets limits on refrigerant charge relative to room size and may require leak detection on larger systems. In practice, follow the manual’s minimum room area and installation rules for the exact model, and don’t mix R-410A parts or tools with A2L equipment unless the manual allows it (EPA, Technology Transitions).
Typical order of work
- Confirm the load, unit and locations.
- Get the permit, where required.
- Mount the indoor head bracket and drill the wall opening, sloped down to the outside.
- Set the outdoor unit on its pad or bracket with the manual’s clearances.
- Run the line set, interconnect cable and condensate drain.
- Have the refrigerant connections made and leak-checked by a certified technician.
- Have the electrical work done and inspected.
- Start up and test per the manual, then register the warranty.
Paperwork to keep
Keep the AHRI certificate, the model and serial numbers of every unit, the permit and inspection records, the technician’s name and certification number for the refrigerant work, and your receipts. Warranty claims and rebate programs often ask for them, and a future buyer of your home may too.
DIY pre-charged kits: the details people miss
From MRCOOL Direct, a MRCOOL retailer, on the DIY 5th Gen line sets (MRCOOL Direct):
- Don’t cut a pre-charged line set. Coil any excess horizontally behind the condenser, without kinks.
- MRCOOL advises against hiding DIY lines inside walls.
- Leak-test before opening the valves.
- A coupler must match the line-set size. The “75 ft” in some coupler kits is communication wire, not refrigerant line.
- The communication cable is separate from the condenser’s power circuit. MRCOOL Direct says most of its systems use 14/4 stranded wire with 600 V insulation.
None of this changes EPA’s position on Section 608 certification for the refrigerant connections.
General information. For installation, follow your unit’s manual, EPA Section 608 rules, the NEC as adopted locally and local code, and use a licensed electrician where required.
All installation guides
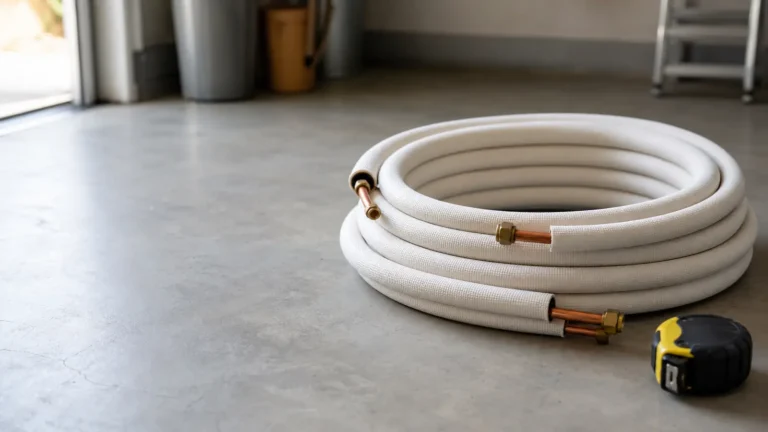 InstallationMini-Split Line Set LengthHow long a mini-split line set can be: pre-charged DIY sets, standard lengths, couplers, maximum runs from the spec sheet and why…
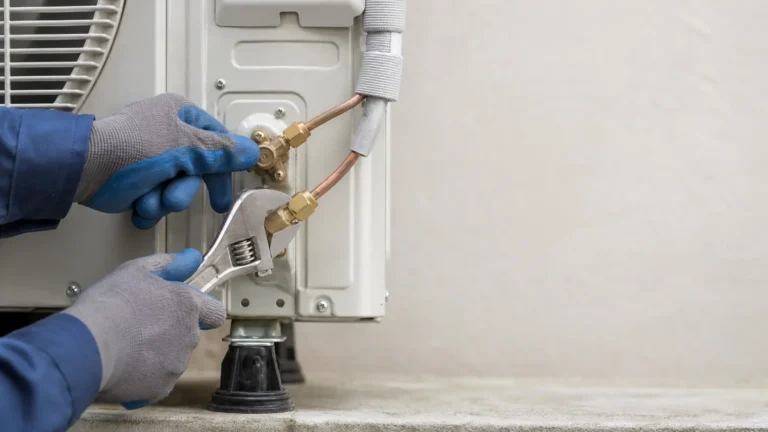 InstallationCan You Install a Mini-Split Yourself?What EPA says about DIY mini-split installation: Section 608 certification for connecting pre-charged lines, what counts as opening the refrigerant circuit, and…
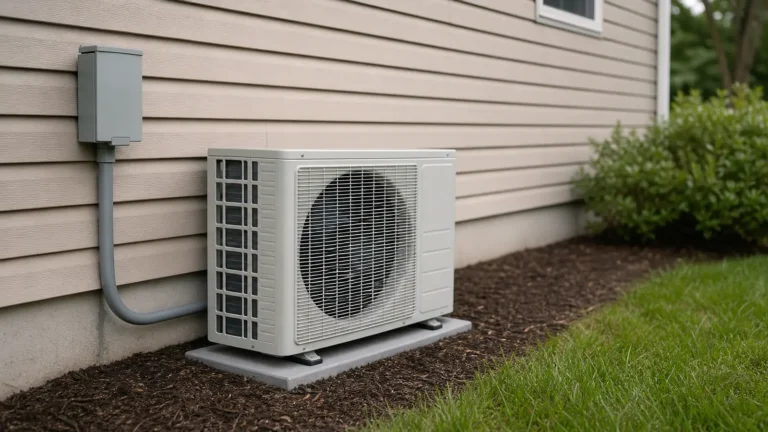 InstallationMini-Split Electrical RequirementsHow to read mini-split electrical specs: minimum circuit ampacity (MCA), maximum fuse or breaker size, voltage, disconnects, and why the nameplate and…